Best Of
How to install BOARD Office Add-In with command line in unattended mode
BOARD Office add-ins can be installed with a Command Line using MSIEXEC
To install the, follow the following steps:
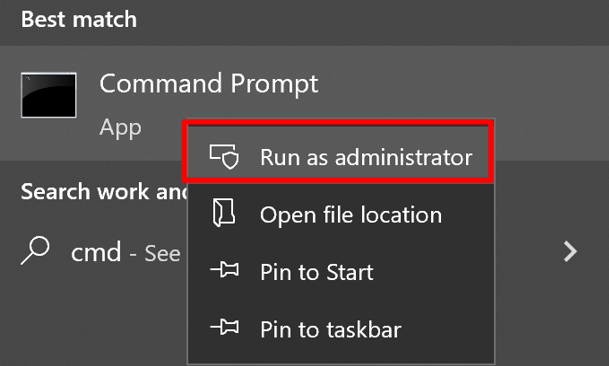
In the start menu, right-click Command Prompt and choose Run as administrator.
Locate the MSI file for the version of the add-in you want to install. This is often in the Downloads folder.
Use the following command line to install the BOARD Office Add-In in unattended mode. Replace “B7CResources.msi” with the file location of the .msi file.msiexec /i B7CResources.msi /qn
Optionally, you can use additional parameters to further customize your installation.
Note: All feature names declared within the command line parameters are case-sensitive. It is important to use the proper case when identifying elements to be installed.
Parameter definitions:
Parameter | Description |
|---|---|
/qn | Specifies there's no UI during the installation process. |
/i | Specifies normal installation. |

Troubleshooting: Blank Screen while Connecting to Board Web Server
When connecting to BOARD 10 Web Server using Internet Explorer, a blank screen prompts out.
Problem Cause: Browser IE 11 is working in compatibility mode with Internet Explorer 9
Problem Solution: Disable the compatibility mode option.
- Click on the Tool icon from Internet Explorer

- Click on Compatibility View settings

Check that:
- The two options Display intranet in compatibility view and Use Microsoft compatibility lists are disabled.
- The Server address is not included in the list of Website you've added to Compatibility View
Howto: Embed a report on other sites
Starting from Board 10.1, Board web reports can be embedded directly in other webpages, such as enterprise portal, customer portal, intranet portal or other public websites. When you embed a report, it will appear as a box on your page that contains the full contents of your report, including charts, tables, and other custom visualizations.
Please note that this feature is only available for on-premises installations.
Configuration
For your embedded reports to be visible in an iframe, the "X-Frame-options-enabled" parameter in the appSettings.config file must set to "false". The appSettings.config file can be found at the path C:\Program Files (x86)\Board\Board WebApi Server\App_Data\config on the machine where Board Server has been installed.
<add-key="X-Frame-options-enabled" value="false" />
Notes:
- If you want to embed a report on a webpage hosted on the same machine where Board is installed, the "X-Frame-options-enabled" parameter described below can be omitted
- If you want to embed a report on a webpage hosted on a machine other than where Board is installed, the "X-Frame-options-enabled" parameter must be added to the appSettings.config file and configured as described above.
Please be aware that enabling the embed feature may pose security risks, such as clickjacking
Usage
To embed a report, you have to add an iframe tag in your html page using the following syntax:

Who can see my embed?
By default, embeds can be seen by people who have access to the embedded report.
When Anonymous user is enabled, all users can display the report without having to type username and password, all users will inherit the same credentials and profile.
Otherwise it's possible to manage authentication to Board web portal, including the web page a simple java script function:
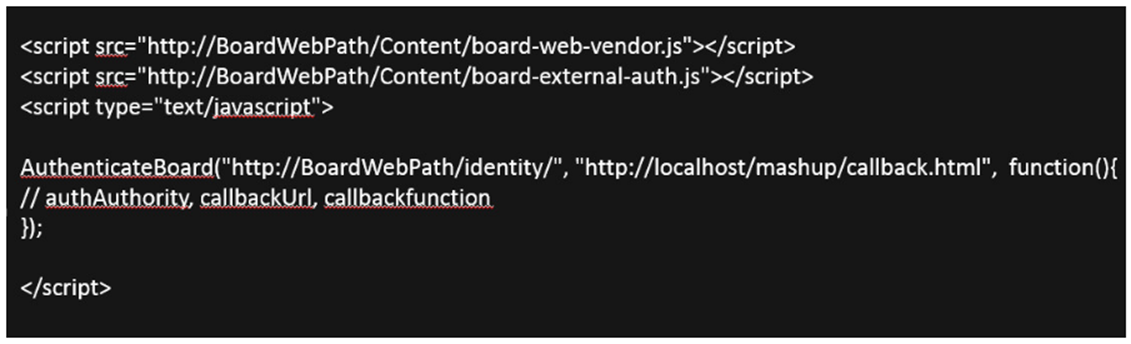
All users not yet authenticated, you will see a pop-up in order to submit the Board credential.
callback.html is the html file that will be in pop-up. This file must be visible via web.
The report will be displayed according to the user profile.
Embedded report with parameters
You can interact dynamically with the iframe through a url call indicating the name of the report.
With this option you can also pass parameters to the report, simply by appending parameters to the URL.
Multiple parameters must be separated by ampersands (&).
The following parameters are supported:
- Capsule and screen
- #/screen/?capsulePath=Capsule.bcps
- screenName=Screen1
Example
BoardWebPath/#/screen/?capsulePath=CapsuleName.bcps&screenName=Screen1
With the Capsule and Screen parameters you can override the server defaults (if specified).
If the Capsule name is specified but the Screen name is not, the home screen will be opened by default.
If Screen name is specified but the Capsule name is omitted, this setting is ignored.
- Select
- selection=EntityName1:value;EntityName2:value
Example
BoardWebPath/#/screen/?capsulePath=CapsuleName.bcps&screenName=Screen1&selection=Year:2012,2011;Division:Watches
Using this option it's possible to apply a selection to the Screen. The selection will be combined with the Screen selection.
The parameters in the URL must match the exact names of the parameters as they are shown in the entity name.
Multiple selections on the same entity must be separated by commas, while selections on different entities must be separated by semicolons.
- showMenu
- showMenu=true/false
Example
BoardWebPath/#/screen/?capsulePath=CapsuleName.bcps&screenName=Screen1&showMenu=true
With this parameter you can override the server default and show/hide the toolbar. If the toolbar is hidden, the user cannot access Board's interactive functions and can only navigate through Screens using navigation Objects included in the Screens themselves (Menus, Labels, Buttons, etc.).
Please review the Application Settings to correctly configure your web server according to the architecture you want to implement.